Editing visually
Some changes are quicker to make by hand than to describe. The visual editor lets you click any element in your live preview and change it straight away: rewrite a heading, recolour a button, adjust spacing, or swap an image. You stay in the preview the whole time, and you do not spend any credits.

Use the visual editor for small, specific changes you can point at. Use AI chat when you want new pages, new features, or anything that needs the AI to write code.
Turn on edit mode
The visual editor works on the live preview, so open your project and make sure the preview is showing.
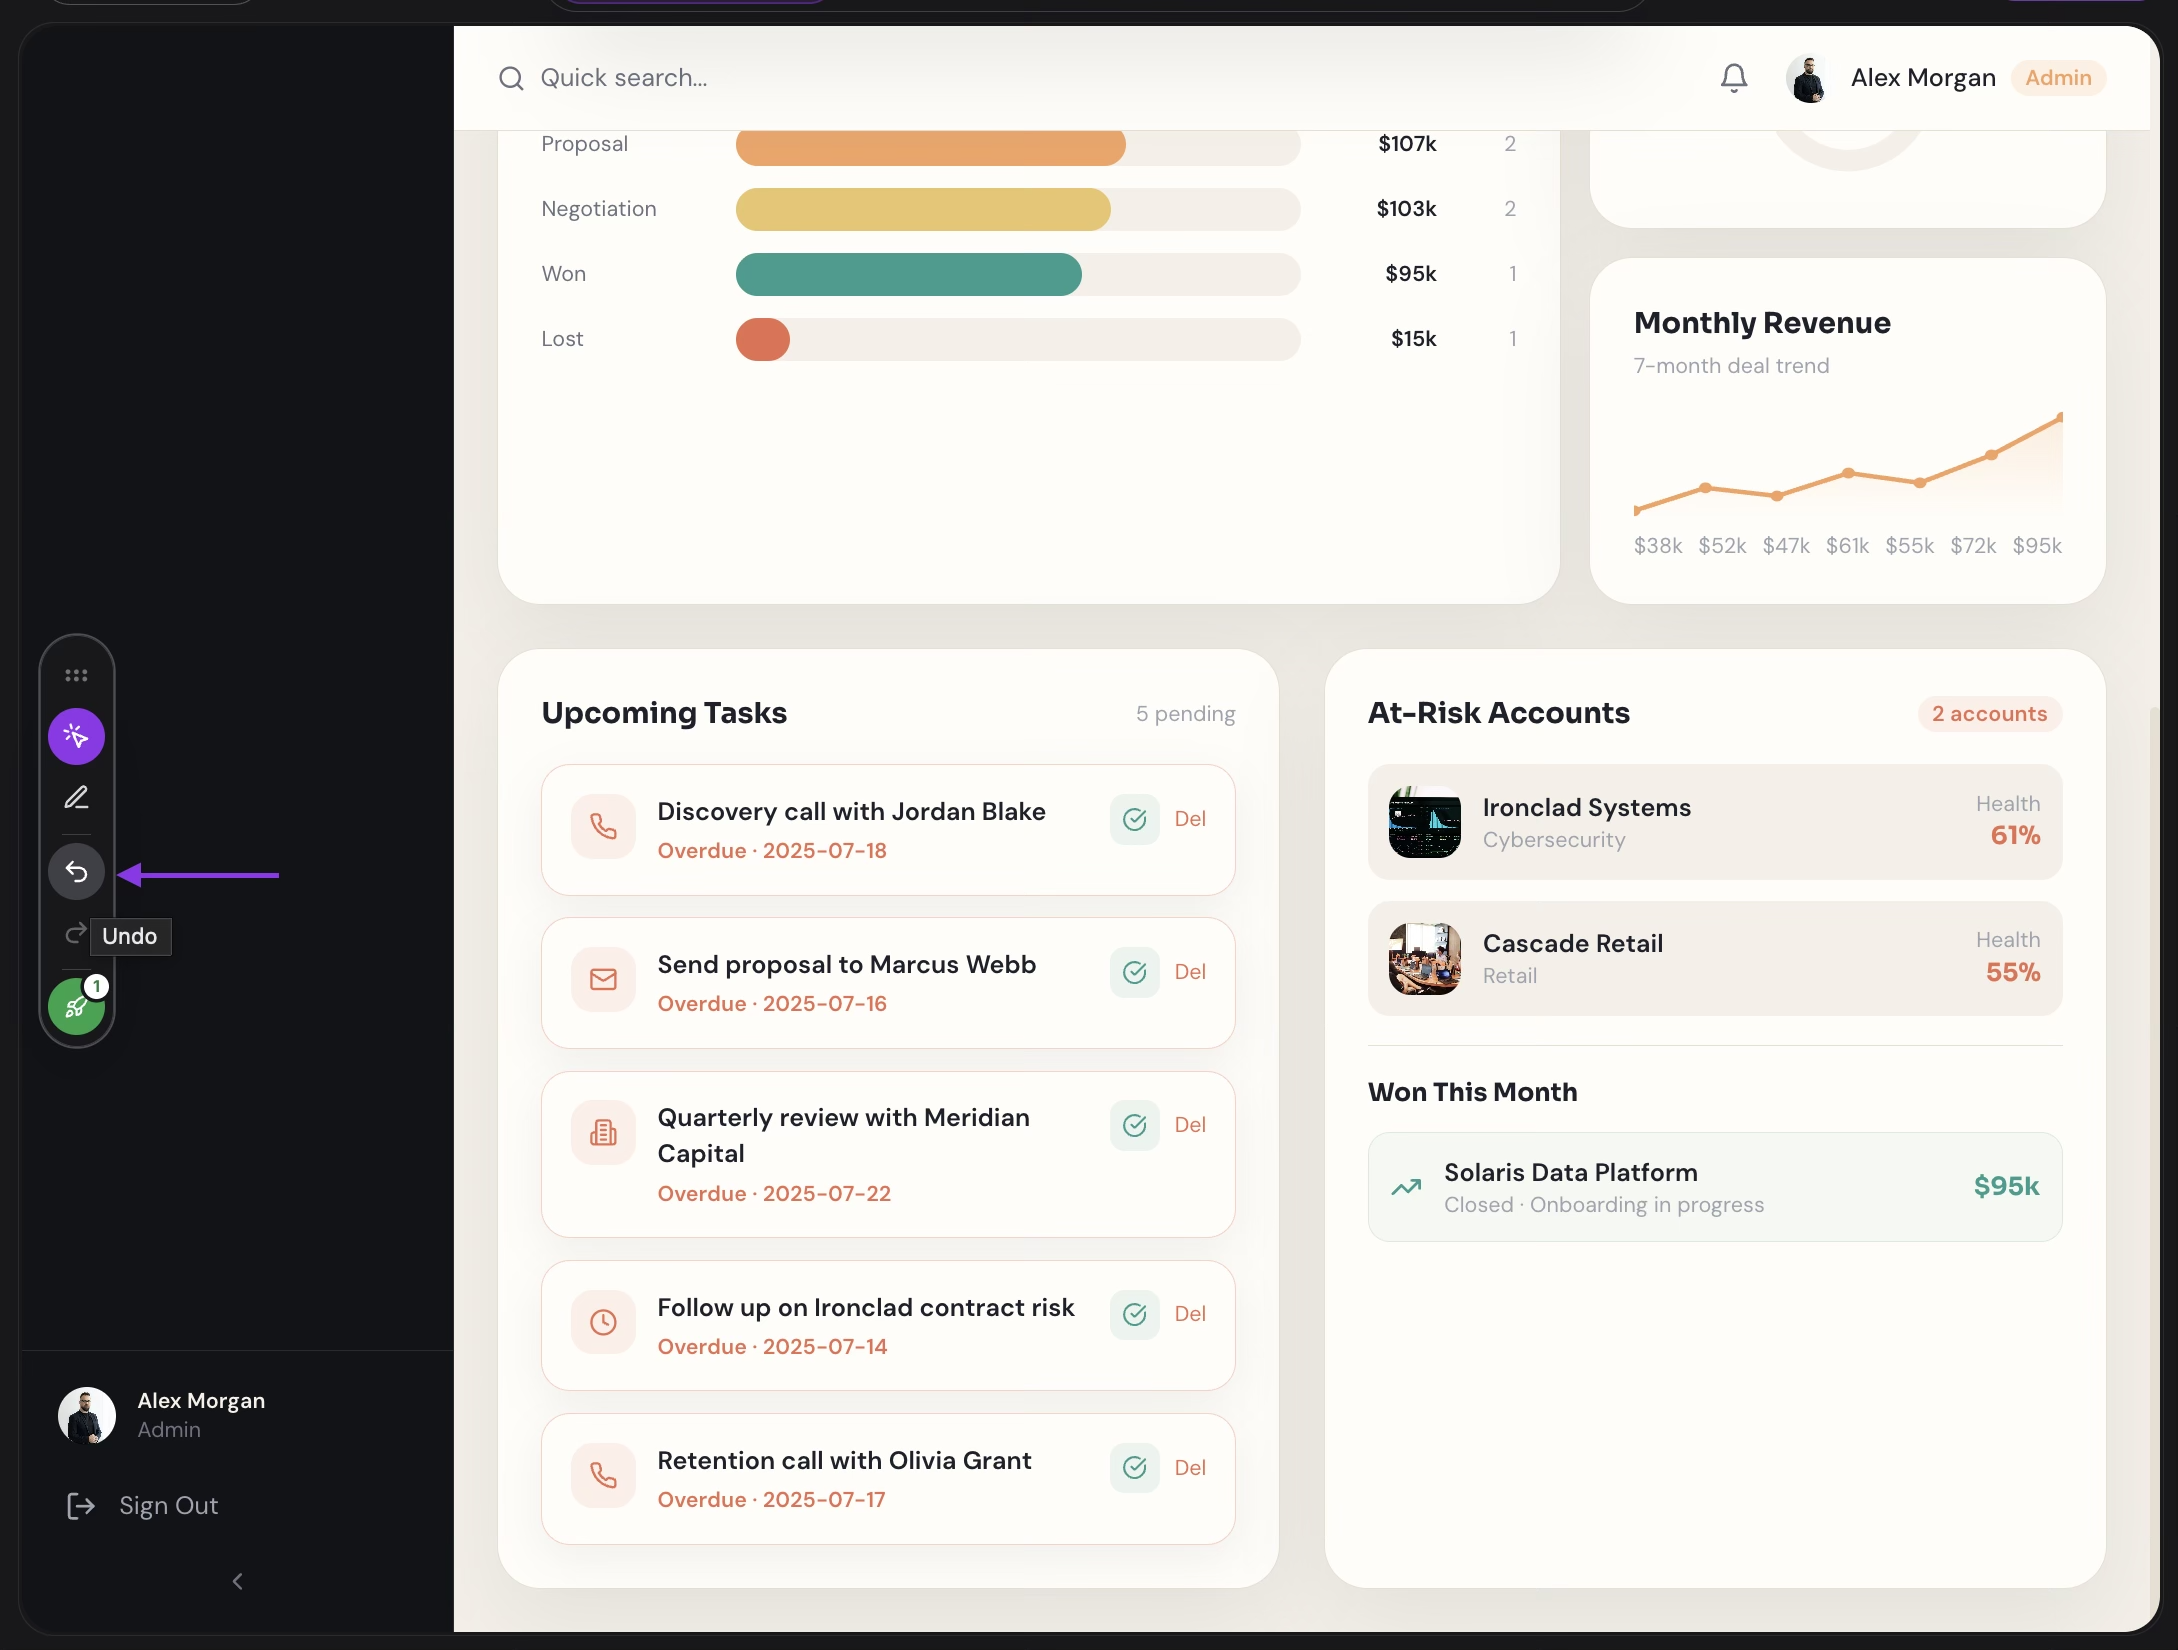
A small toolbar floats over the preview. On desktop it sits against the edge of the preview, and you can drag it to any side. On a phone or tablet you will find it in the bar at the bottom of the screen.
Select the edit option, labelled Edit elements visually. The preview stays interactive, but clicks now select elements instead of activating them.
Select the same option again to leave edit mode and use your app normally.
Edit mode is greyed out in two situations. If you see Redeploy the preview to enable visual editing, your preview was built before visual editing was ready for it, so deploy the project once and it becomes available. If you see Available when the builder finishes, the AI is currently working on your app. Editing resumes automatically once it is done.
Select an element
Move your pointer over the preview and each element you can edit is outlined. Click one to select it. A toolbar appears next to your selection, along with a small chip showing what kind of element it is.
If you selected something smaller or larger than you meant, select that chip to open Select parent element. It lists the elements that contain your selection, so you can step out to the button, the card, or the whole section. On a phone or tablet, press and hold an element to open the same list.
Change the text
To rewrite text, select the element and choose Edit Text. The text becomes editable in place, so you type directly on the page. Press Enter to save it or Esc to cancel and put the original text back.
On a phone or tablet, tap the element once to select it, then tap it again to start typing. The keyboard opens with the text ready to edit.
What you can change
Once an element is selected, the toolbar offers the controls that make sense for it: a heading gets text and typography controls, an image gets image controls, and so on. On smaller screens these are grouped into Text, Layout, and Style menus, with anything left over under More controls.
| Control | What it changes |
|---|---|
| Text | The words in the element |
| Text color | The colour of the text, from your app's theme colours or your own |
| Background color | The background, as a solid colour or a gradient |
| Font size | The text size |
| Font family | The typeface, for this element or for all headings or body text |
| Text style | Bold, italic, underline, strikethrough, alignment, and capitalisation |
| Spacing | Padding and margin on each side |
| Size | Width and height |
| Corner radius | How rounded the corners are |
| Opacity | How transparent the element is |
| Tailwind classes | The styling classes directly, if you know Tailwind CSS |
| Change image | The image, from a web address or a file you upload |
| Delete element | Removes the element from the page |
Every change shows in the preview immediately. Not every control appears on every element, and a few elements have to be changed through the AI instead. See Visual editor tips and limits for why.
Your changes save themselves
You do not need to save anything. A small status appears while TatbiQ writes your change into your app, moving from Saving... to Saved. If your connection drops you will see Save failed - retry, and you can retry from the same spot.
Undo and redo
Made a change you do not want? Press Cmd + Z on Mac or Ctrl + Z on Windows to undo it, and add Shift to redo. You can also use the undo and redo buttons in the editor toolbar.
Undo covers the visual changes you have made in this project, and it keeps working after you reload the page. To step back further than that, use Checkpoints.
Deploy your changes
Your changes are saved into your app right away, but your live preview and your published app are built from your project, so they update when you deploy.
The editor toolbar keeps a count of changes waiting to go live and shows it on the Deploy button. Select it, then choose Deploy now. TatbiQ rebuilds the preview and saves a checkpoint at the same time, so this version is easy to return to later.
Editing visually does not cost credits, no matter how many changes you make. You only spend credits when you ask the AI to do something, such as Edit with TatbiQ or Regenerate design. See Chat edit credit costs.