Publish your app
When your app is ready, you can publish it so anyone can visit it online. Publishing
takes your app live on a tatbiq.io web address, and you can connect your own
custom domain later.
Go live
Make sure your app preview is ready.
In the project header, select Go Live.
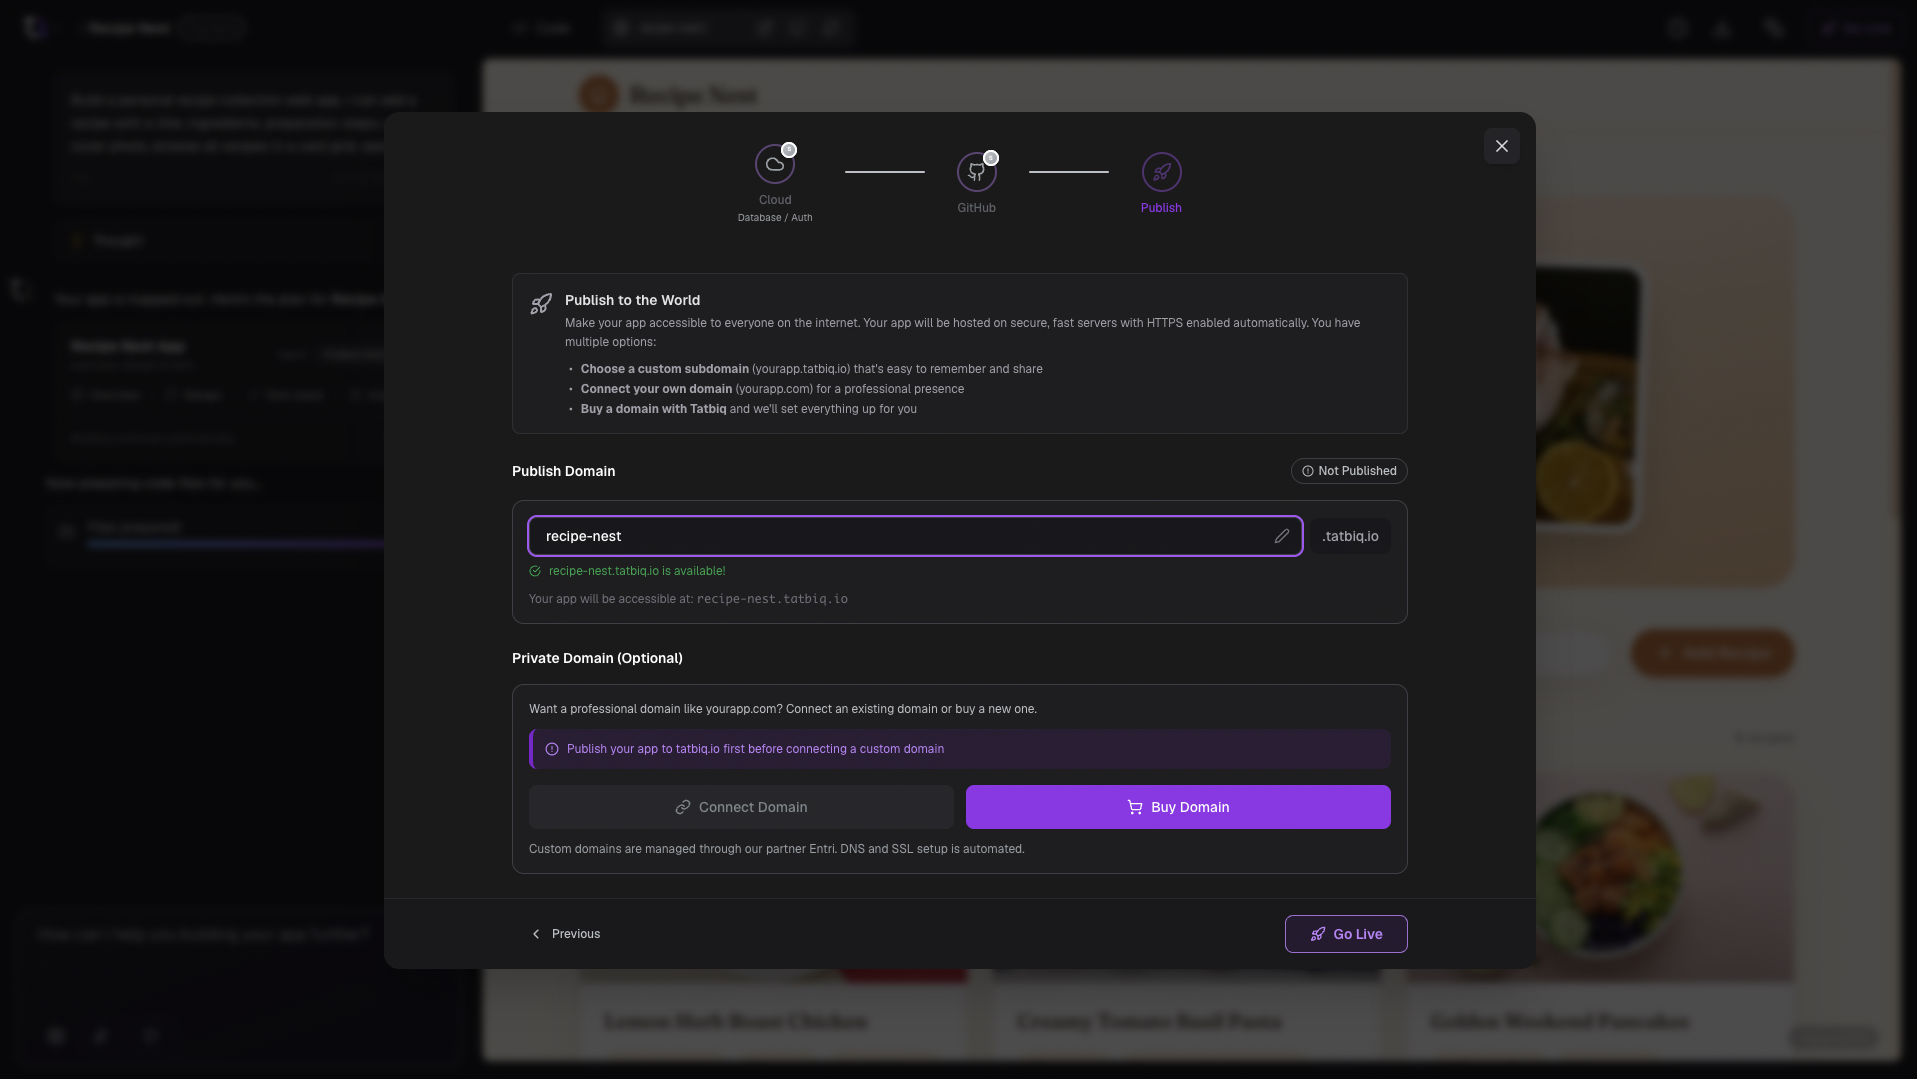
The wizard has three steps: connect a Cloud Database (optional) if your app needs one, connect GitHub (optional) if you want your code on GitHub, then move to Publish to choose your web address.
On the Publish step, choose a subdomain. Your app will be accessible at an
address like your-app.tatbiq.io.
Select Go Live to publish.
When publishing finishes, your live app opens in a new tab. Anyone with the link can now visit it.
Pick a short subdomain that is easy to remember and share. This becomes the public
address of your app, for example my-store.tatbiq.io.
Publish your changes again
After you publish, you can keep editing your app. When you make changes you want to share, open Go Live again and select Publish Again to update your live app.
When an app is already published, the button in the project header shows Live.
Connect a custom domain
Want to use your own domain name instead of a tatbiq.io address? Publish your app
first, then connect a custom domain.